Installation:Curseforge Launcher: Difference between revisions
(Undo revision 67 by 217.85.160.94 (talk)) Tag: Undo |
No edit summary |
||
| Line 71: | Line 71: | ||
[[File:Curseforge-14.png|600px]] | [[File:Curseforge-14.png|600px]] | ||
{{Template:Installation Next Steps}} | |||
Revision as of 12:54, 13 February 2024
Overview
This guide will walk you through installing MineFortress mod using Curseforge Launcher. This launcher is not the only option to install the mod, please refer to Installation to learn more about the other way of installing MineFortress.
Prerequisites
You should be familiar with Curseforge and be able to log into the platform.
In case you have never used Curseforge before consider following this getting started guide or using another launcher that is more convenient for you.
Step by step guide
- Step 1: Get the launcher
- Step 2: Create a new launcher profile
- Step 3: Add the mod
- Step 4: Run the game
- Step 5: Check the mod
Step 1: Get the launcher
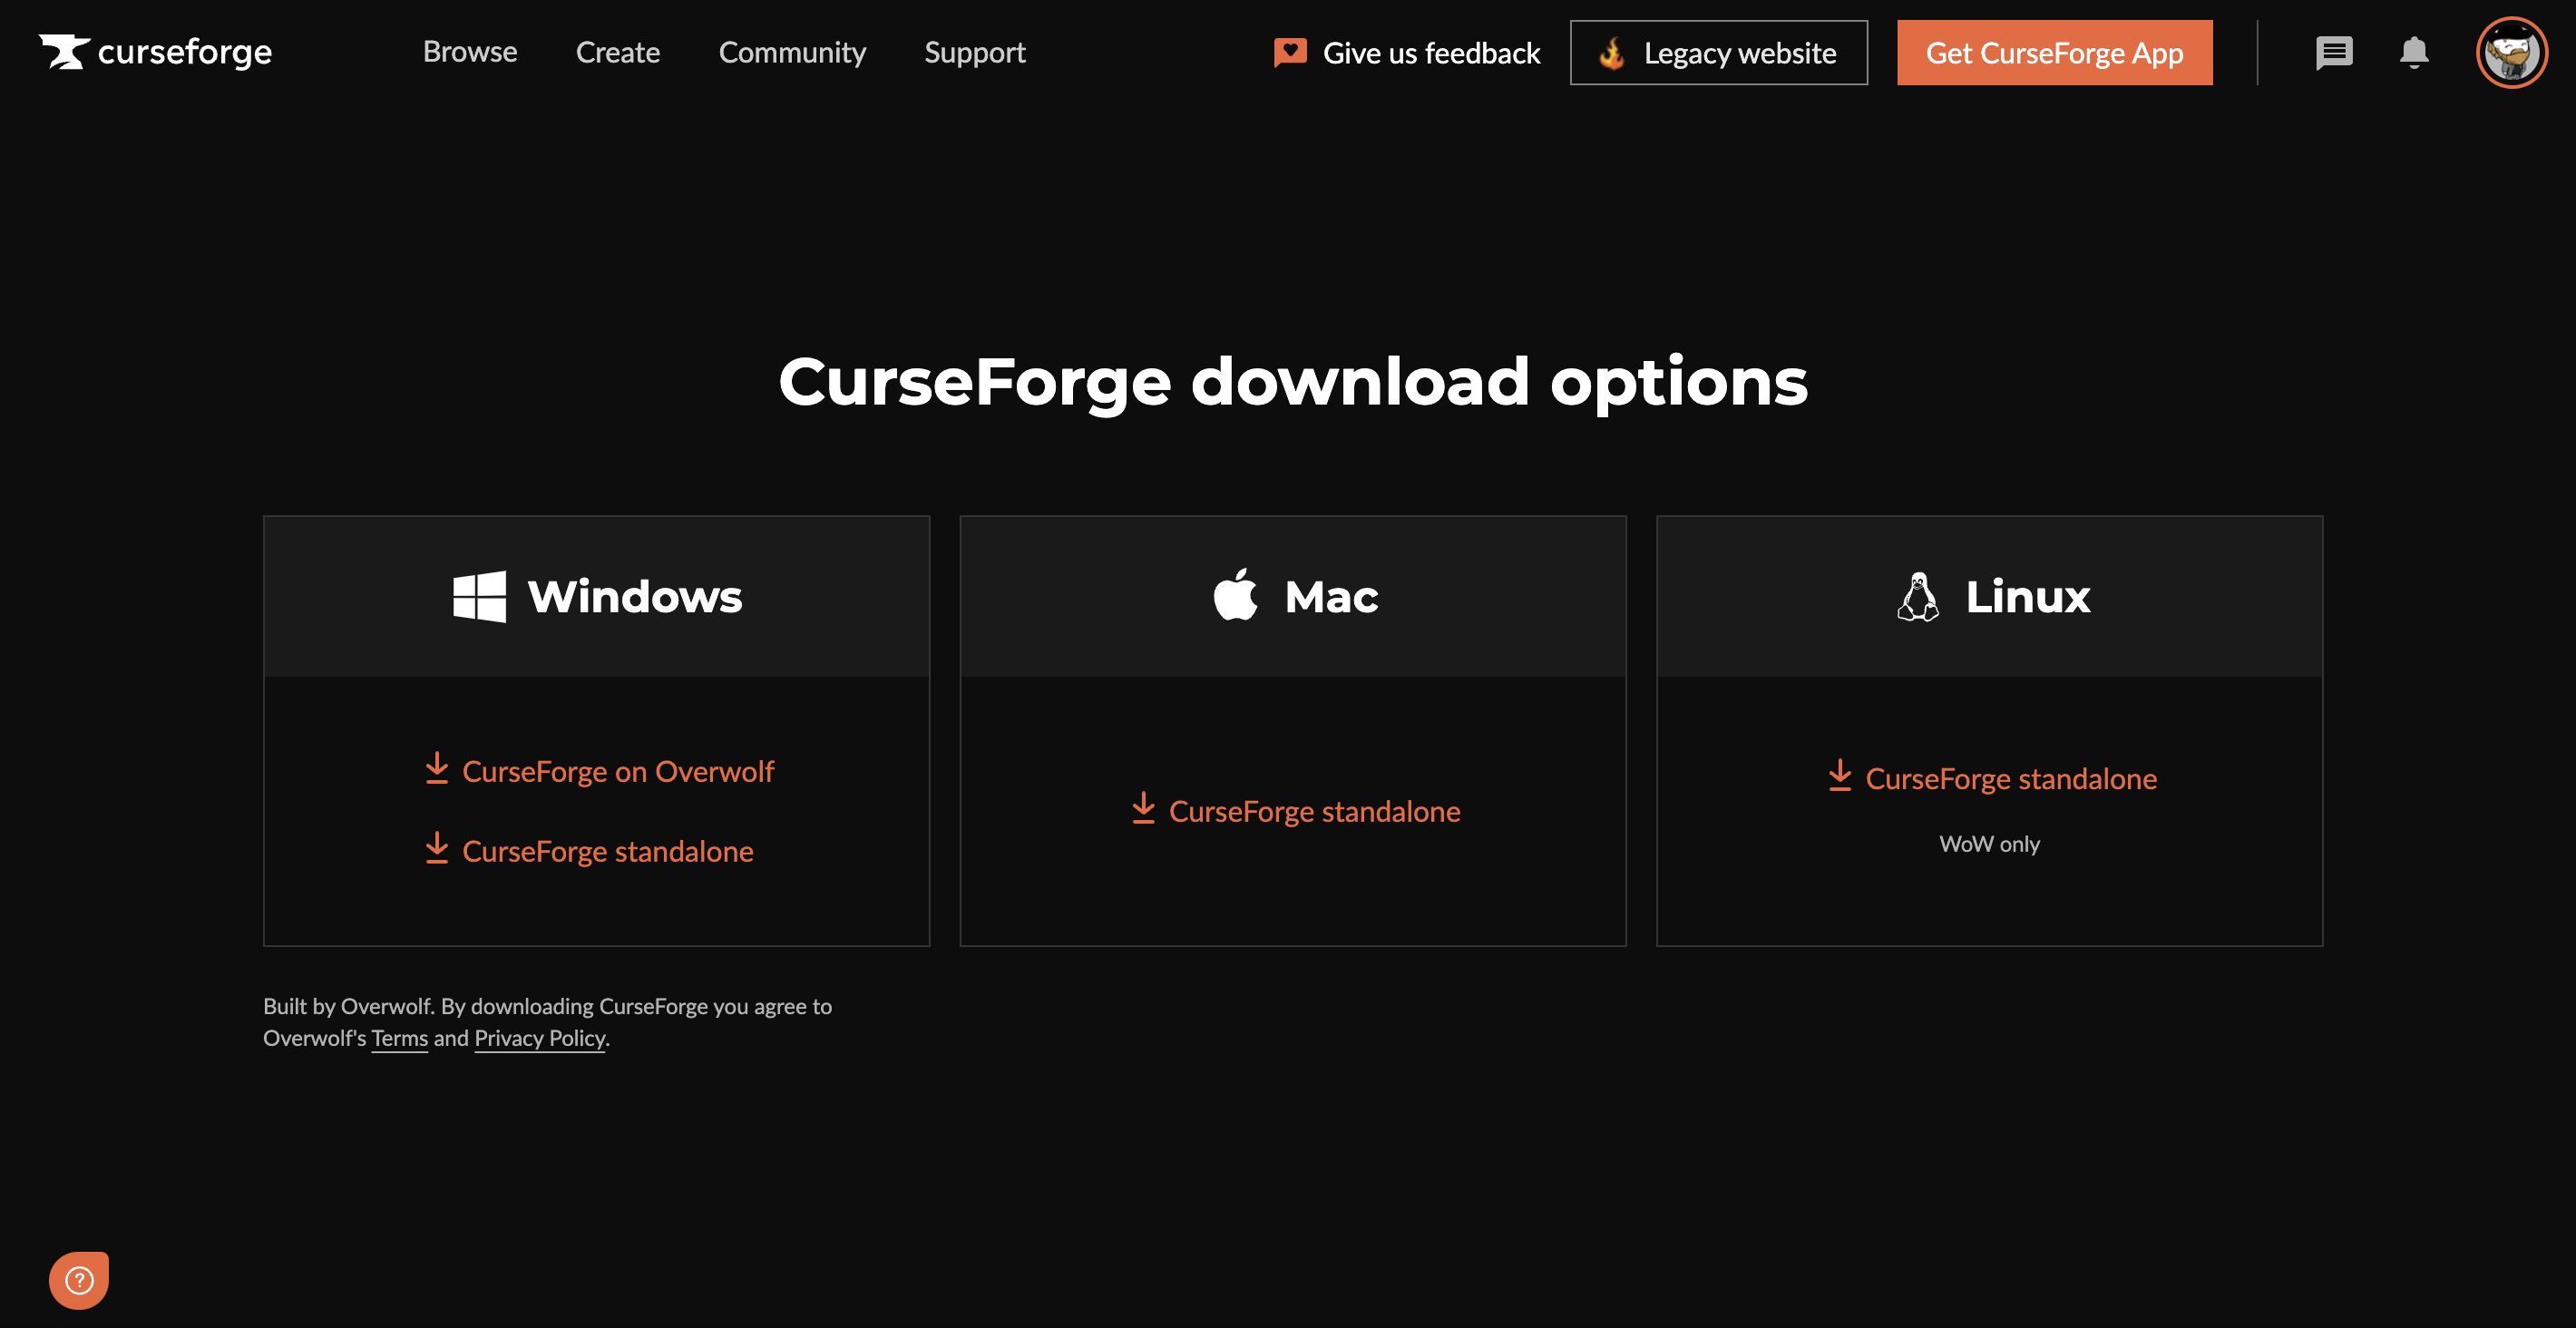
First, you need to get the launcher installer from the Curseforge website by following this link.
Select your OS and download the installer executable.
After you download the installer, execute it to start the installation and follow the installer instructions.
Step 2: Create a new launcher profile
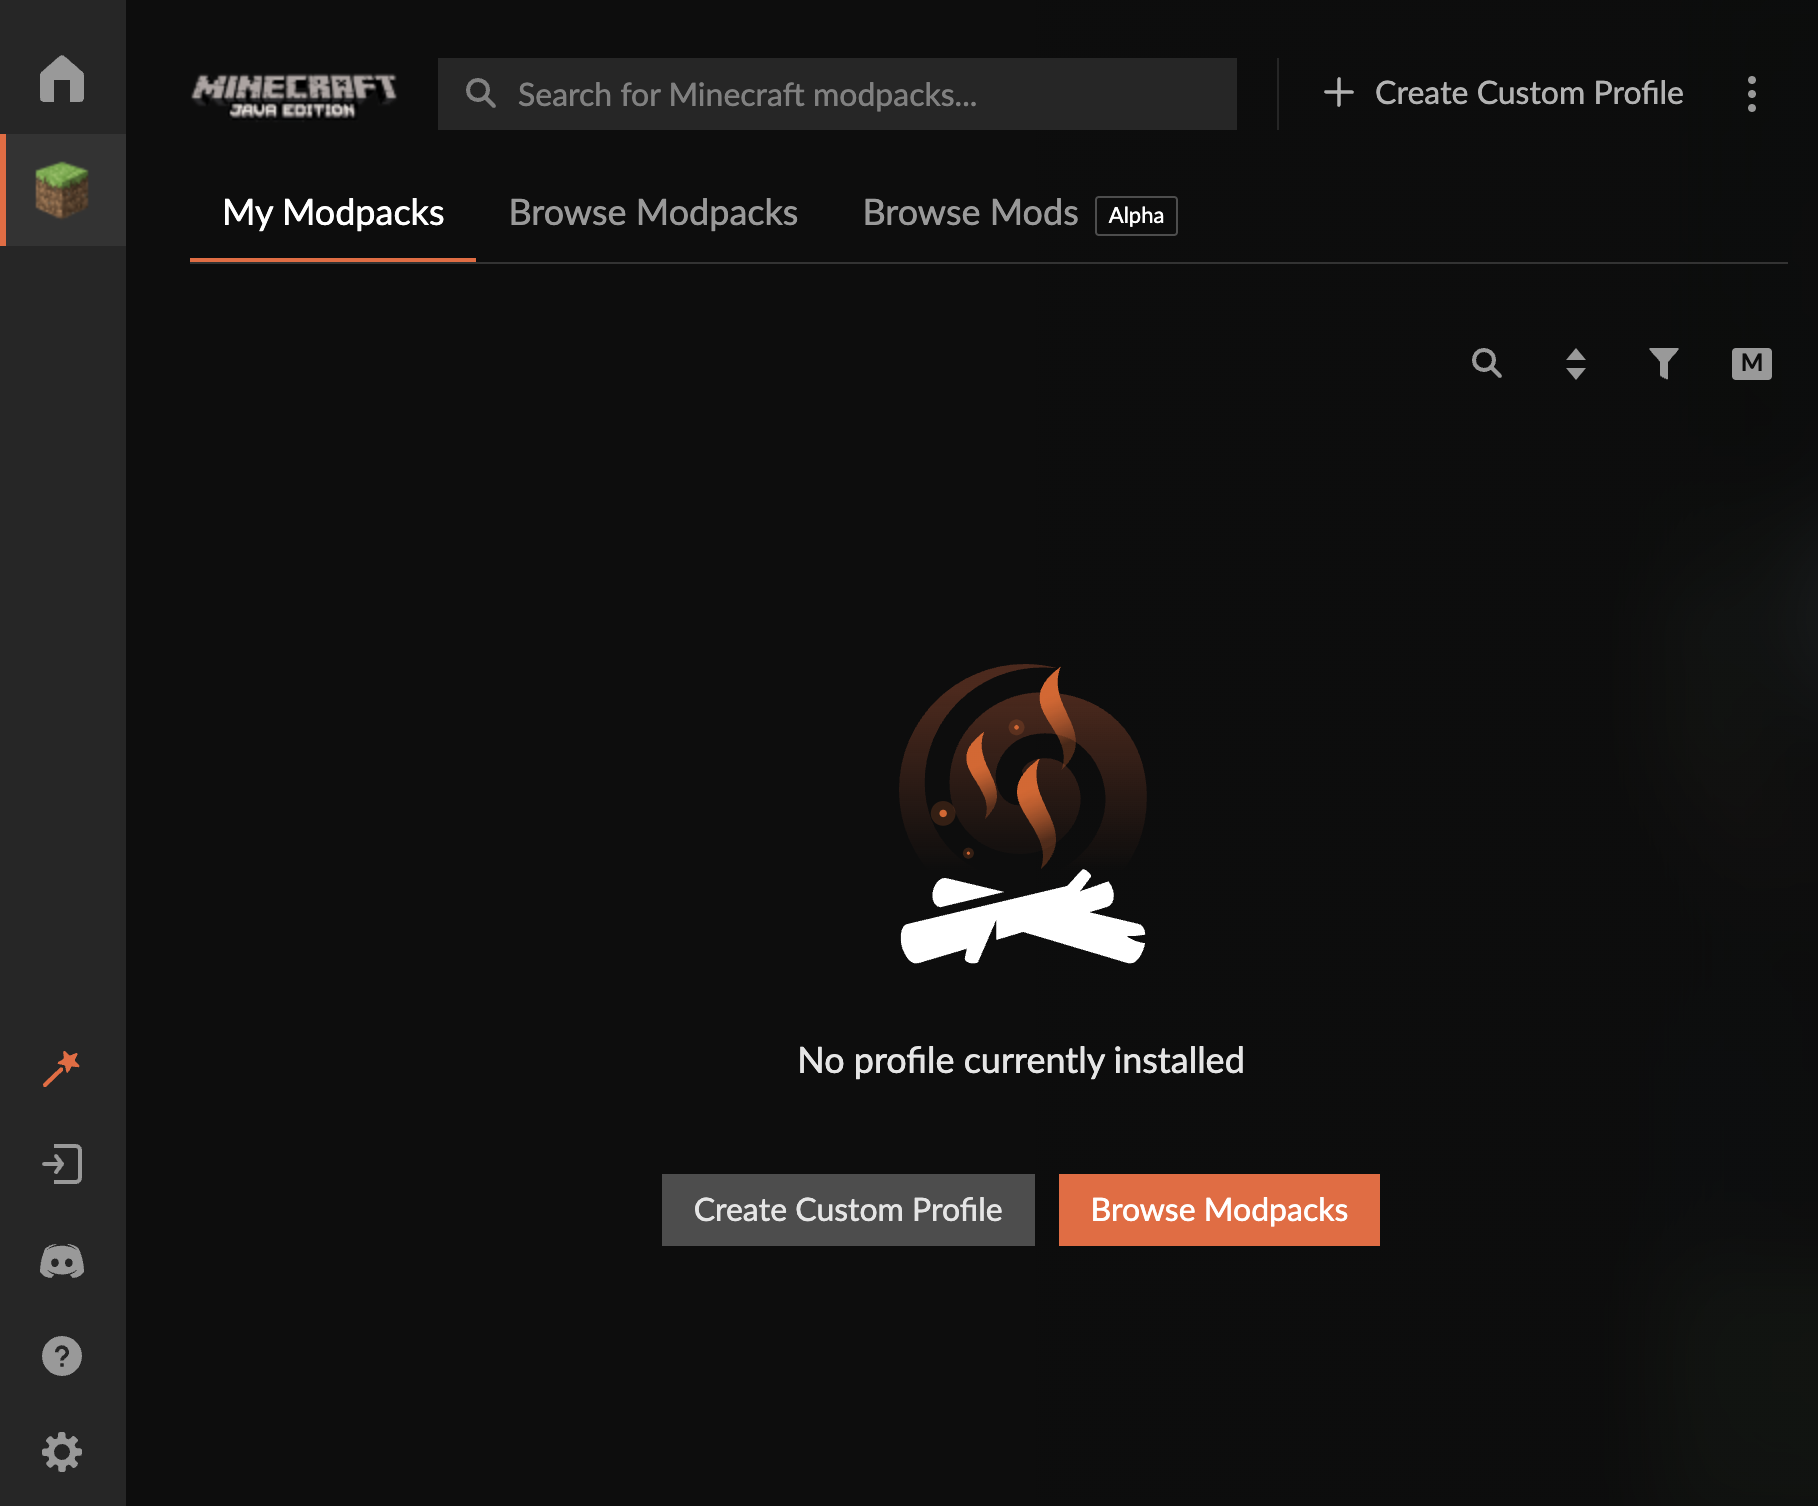
After the installation is done, launch the Curseforge launcher. You will see an empty page inviting you to create a new game profile.
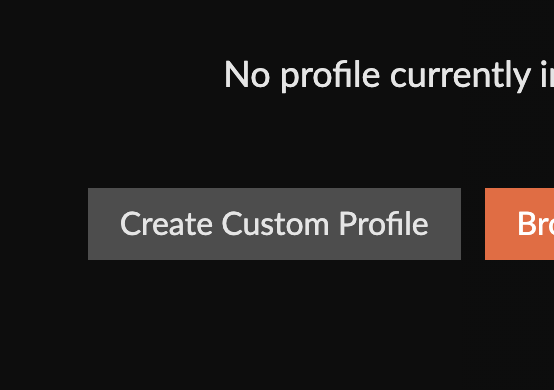
Click the "Create custom profile" button.
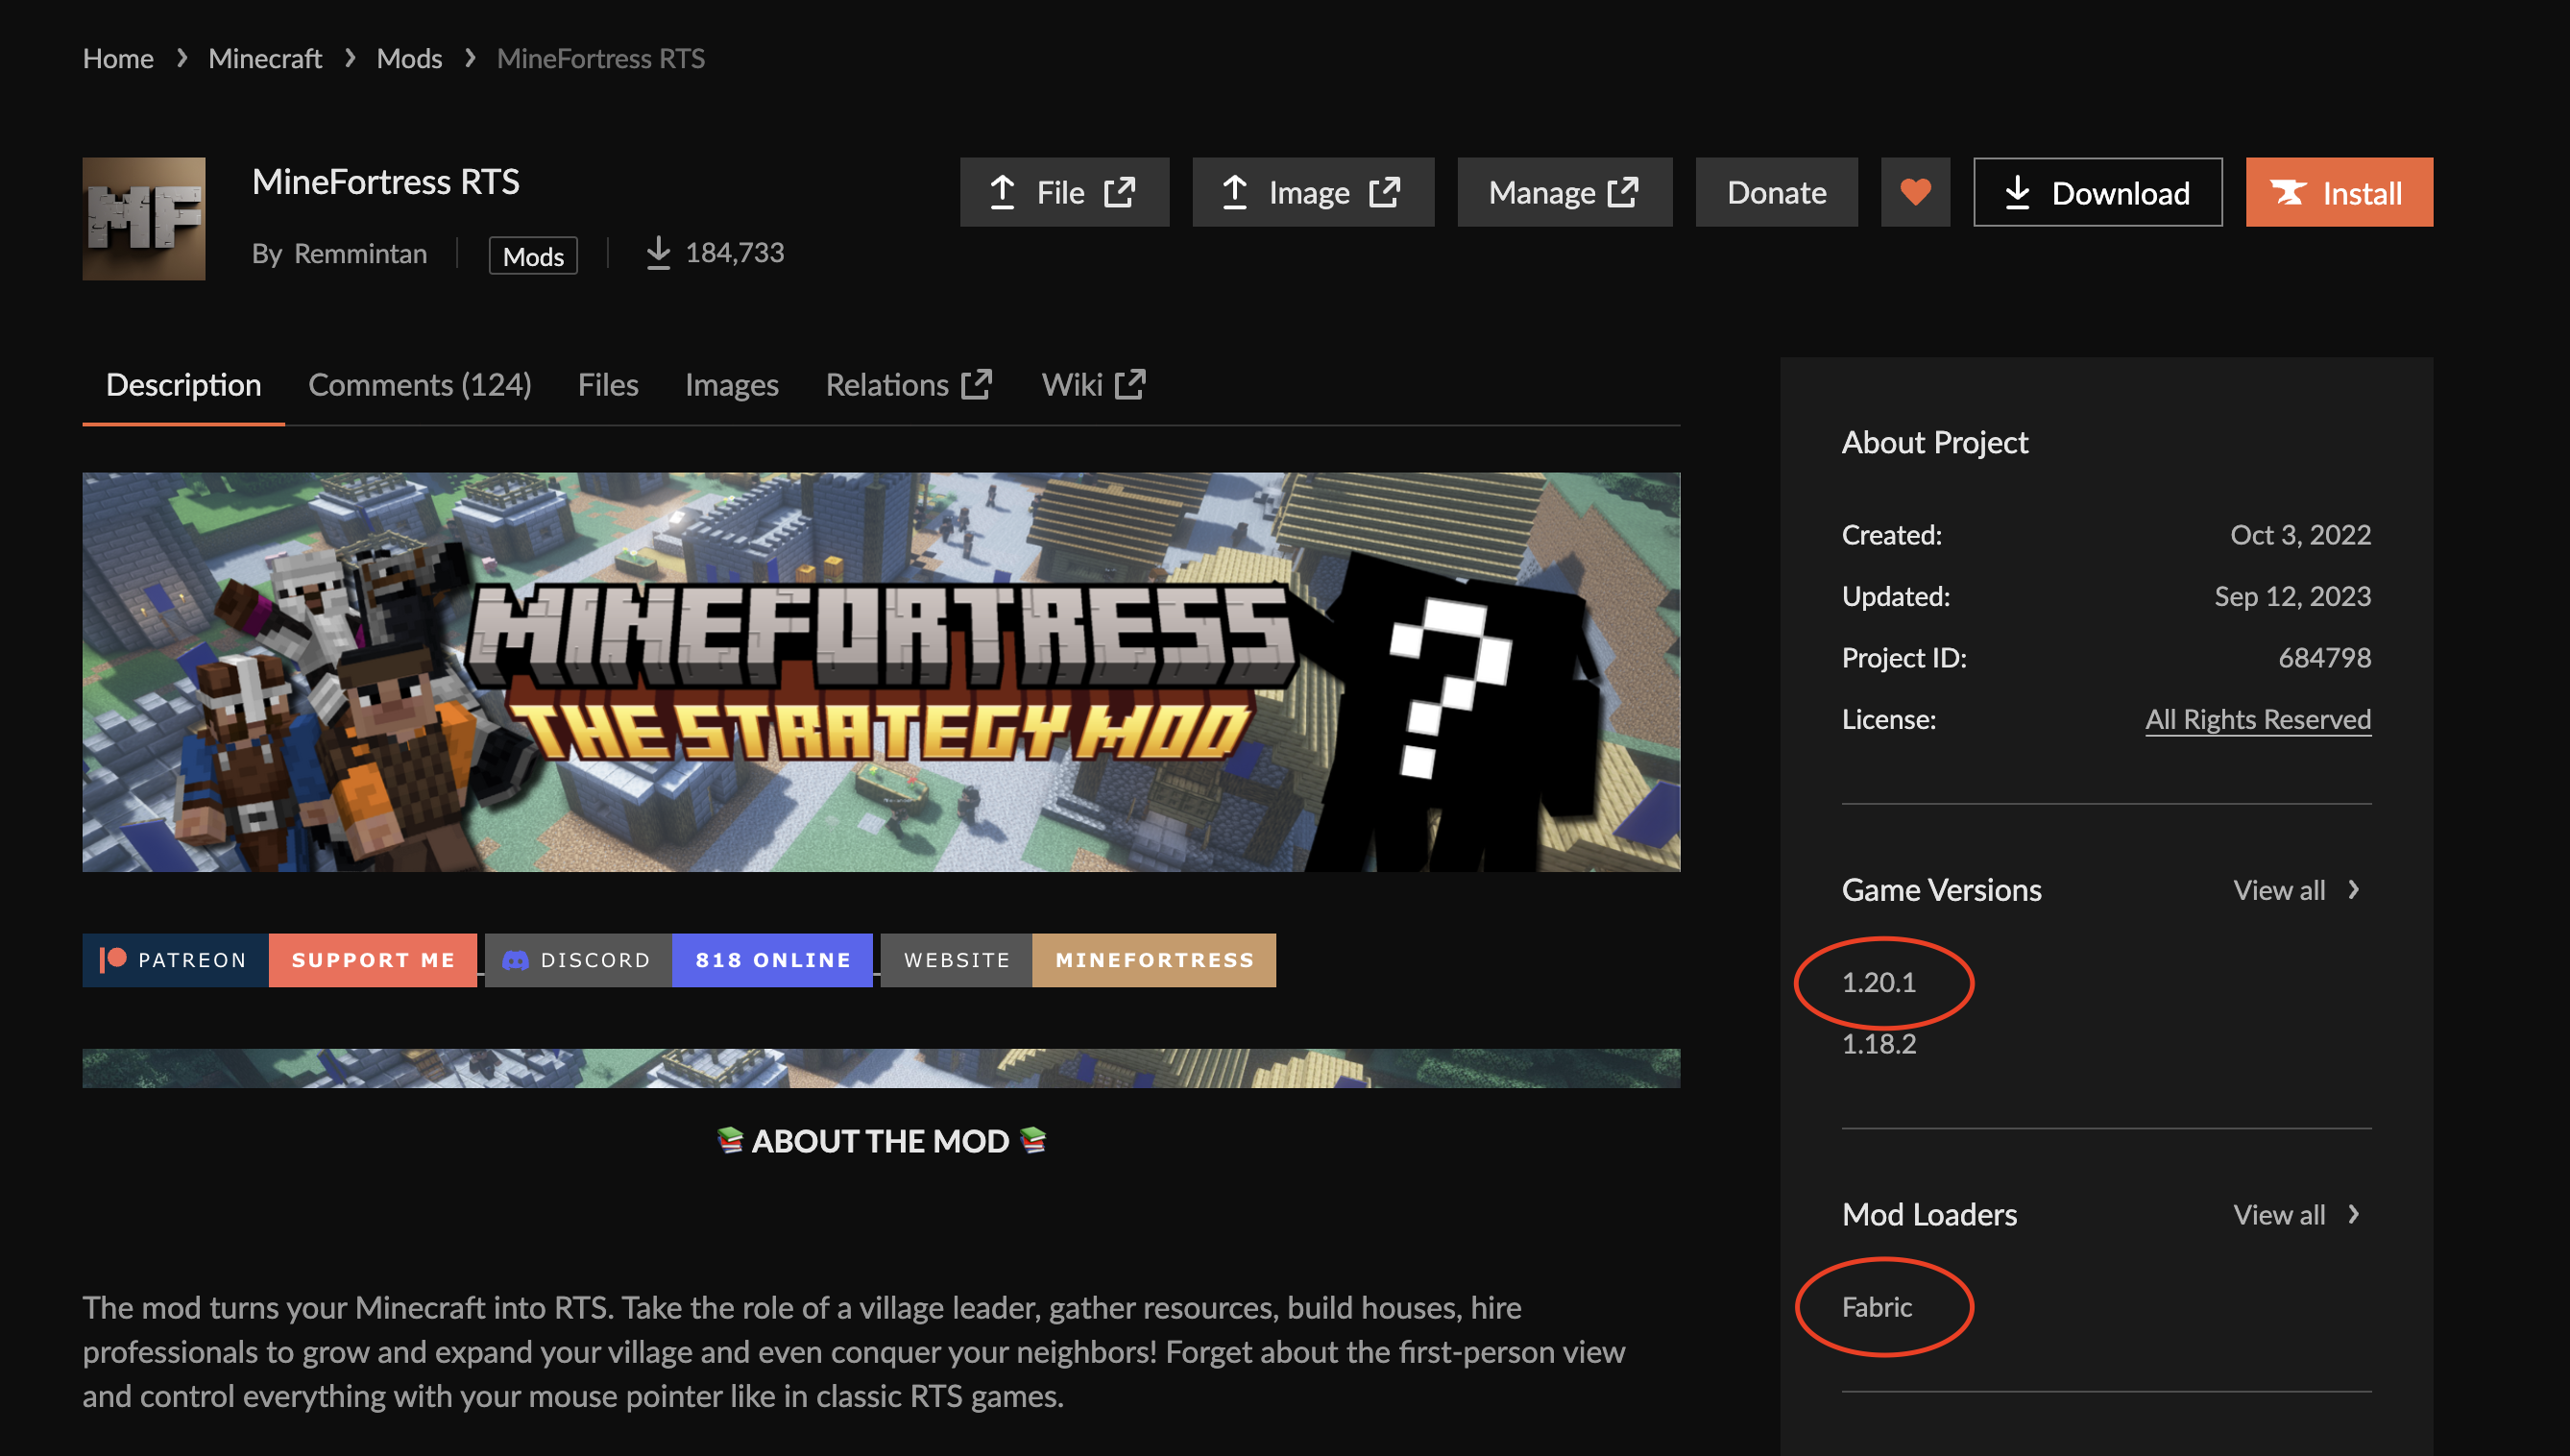
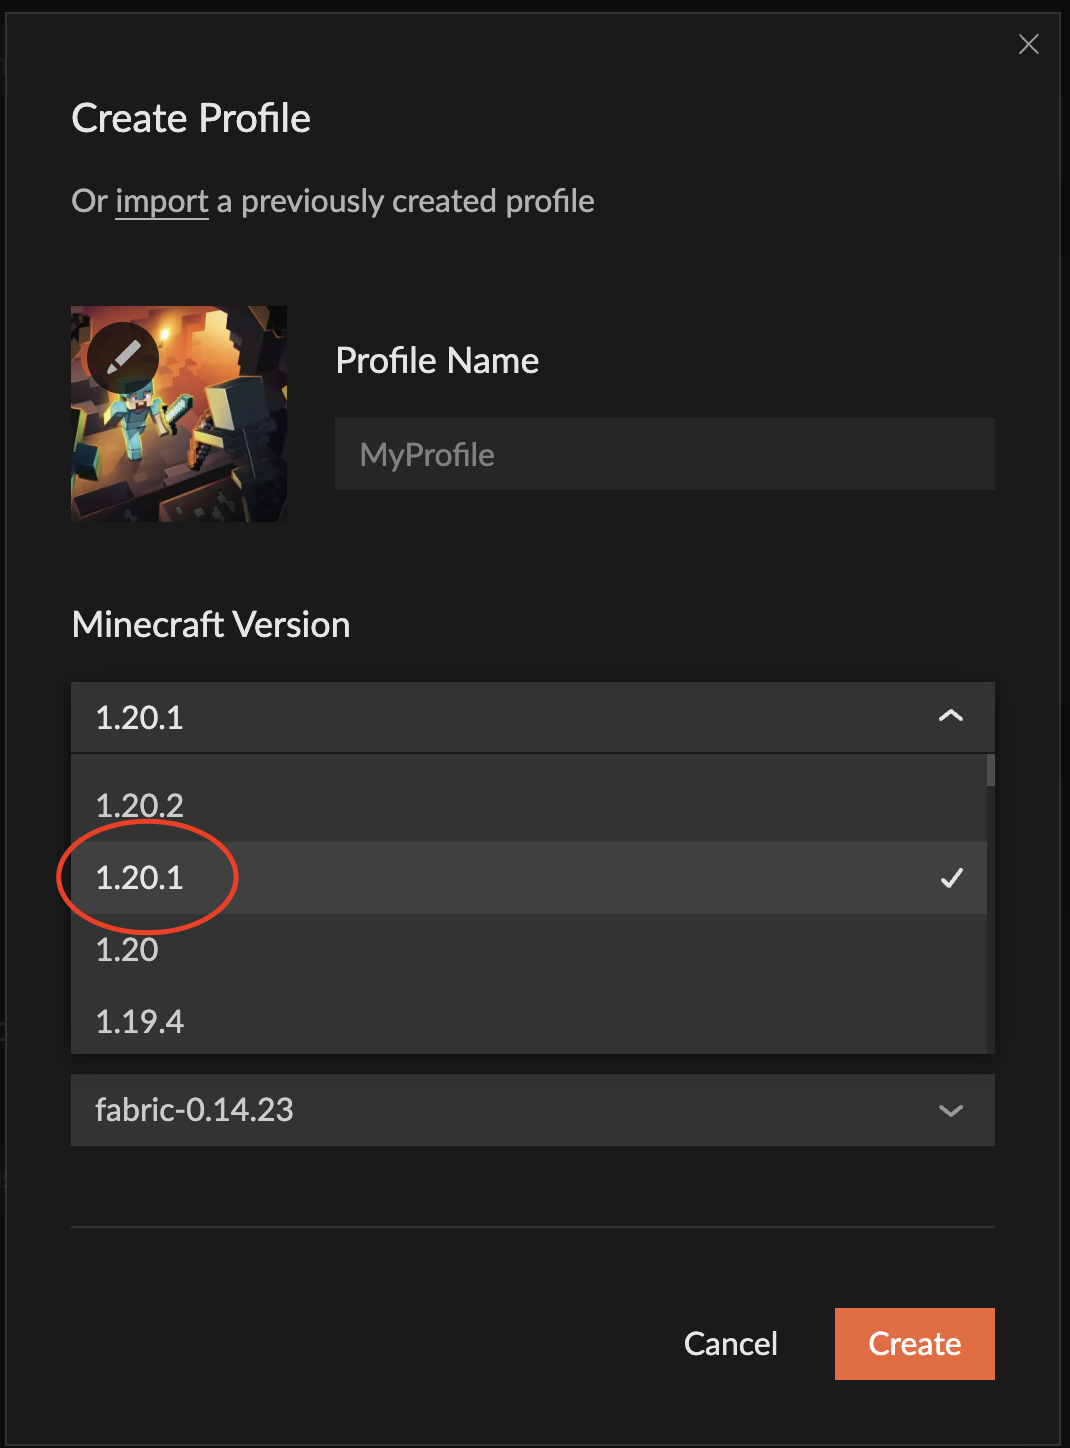
Be careful! When creating a game profile make sure to use the same Minecraft version as you can find on the mod page.
In my case, the Minecraft version is 1.20.1 and the mod loader is Fabric:
And I specify the same values in the launcher profile settings:
After specifying the versions put some meaningful name for the launcher profile and hit "Create".
Step 3: Add the mod
After your new profile is created you will see it on the main screen. Click on the profile picture to open the profile.
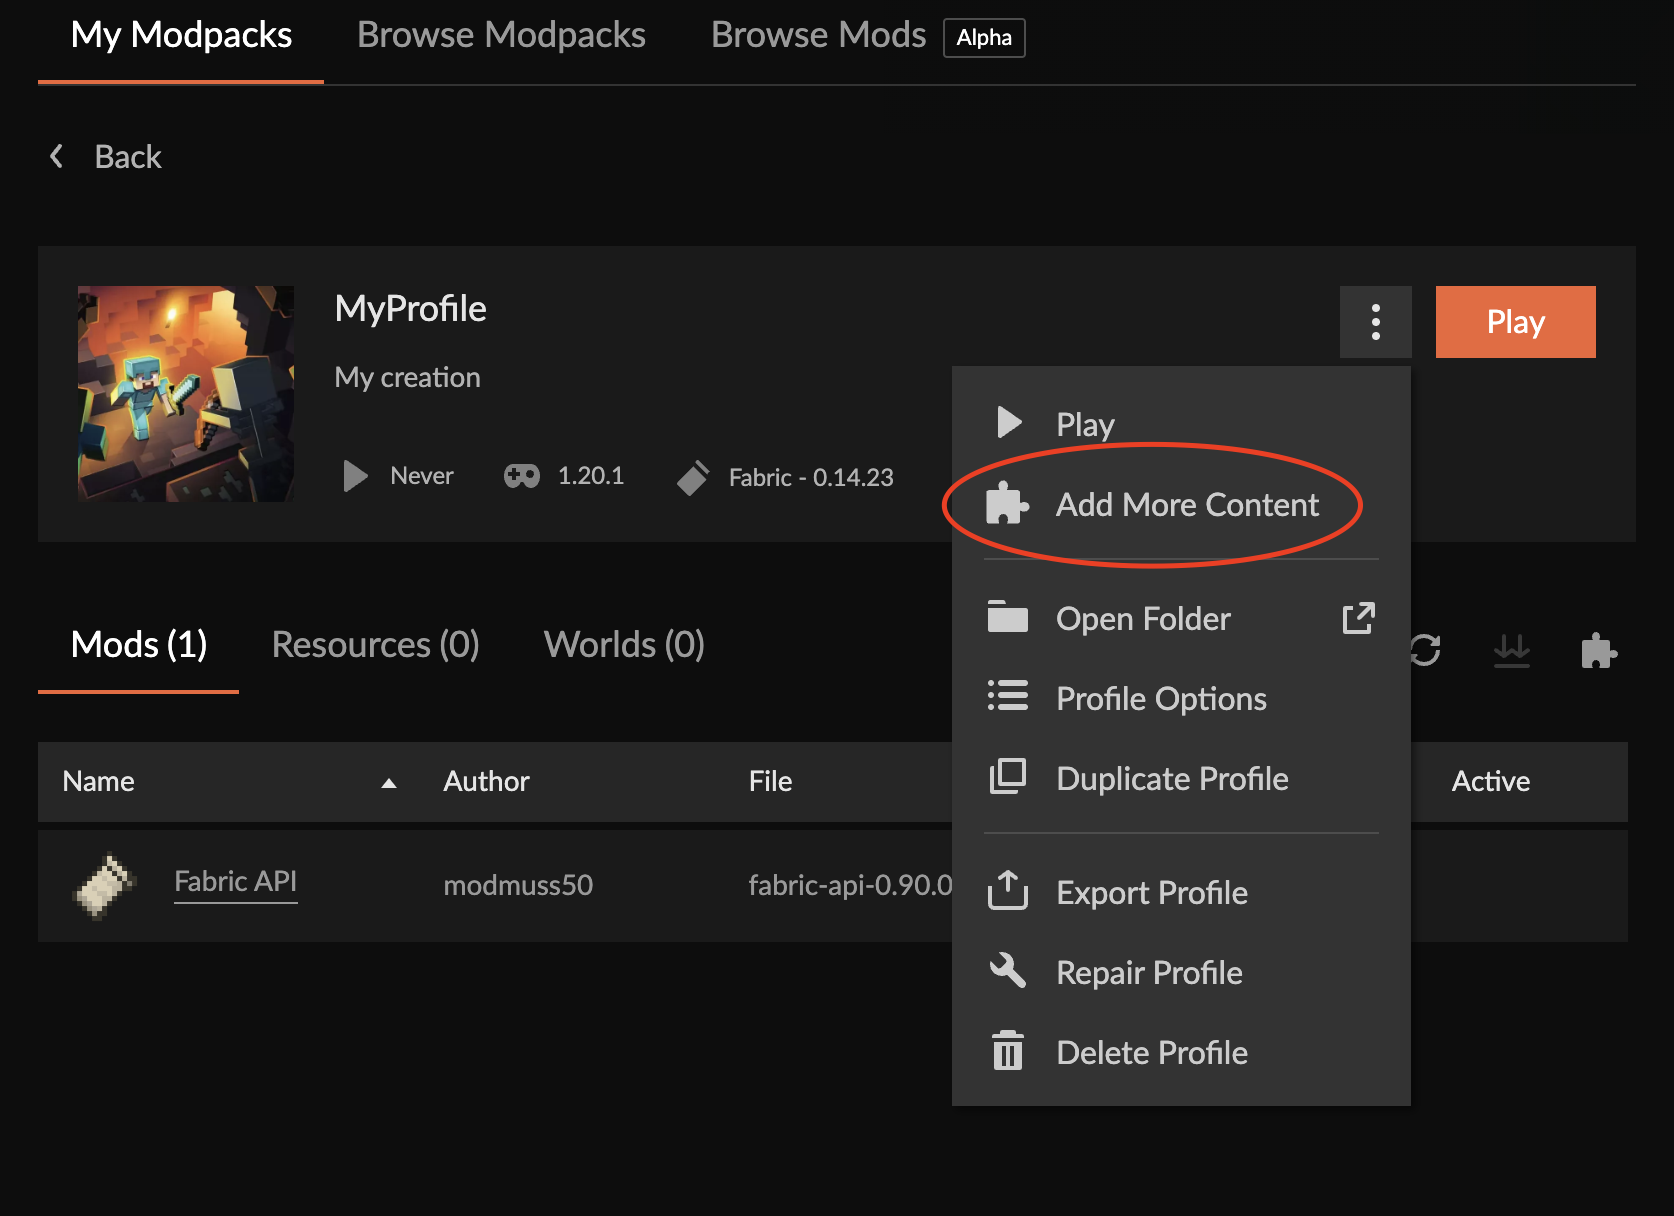
Inside the profile click on three dots in the upper right corner and then "Add more content".
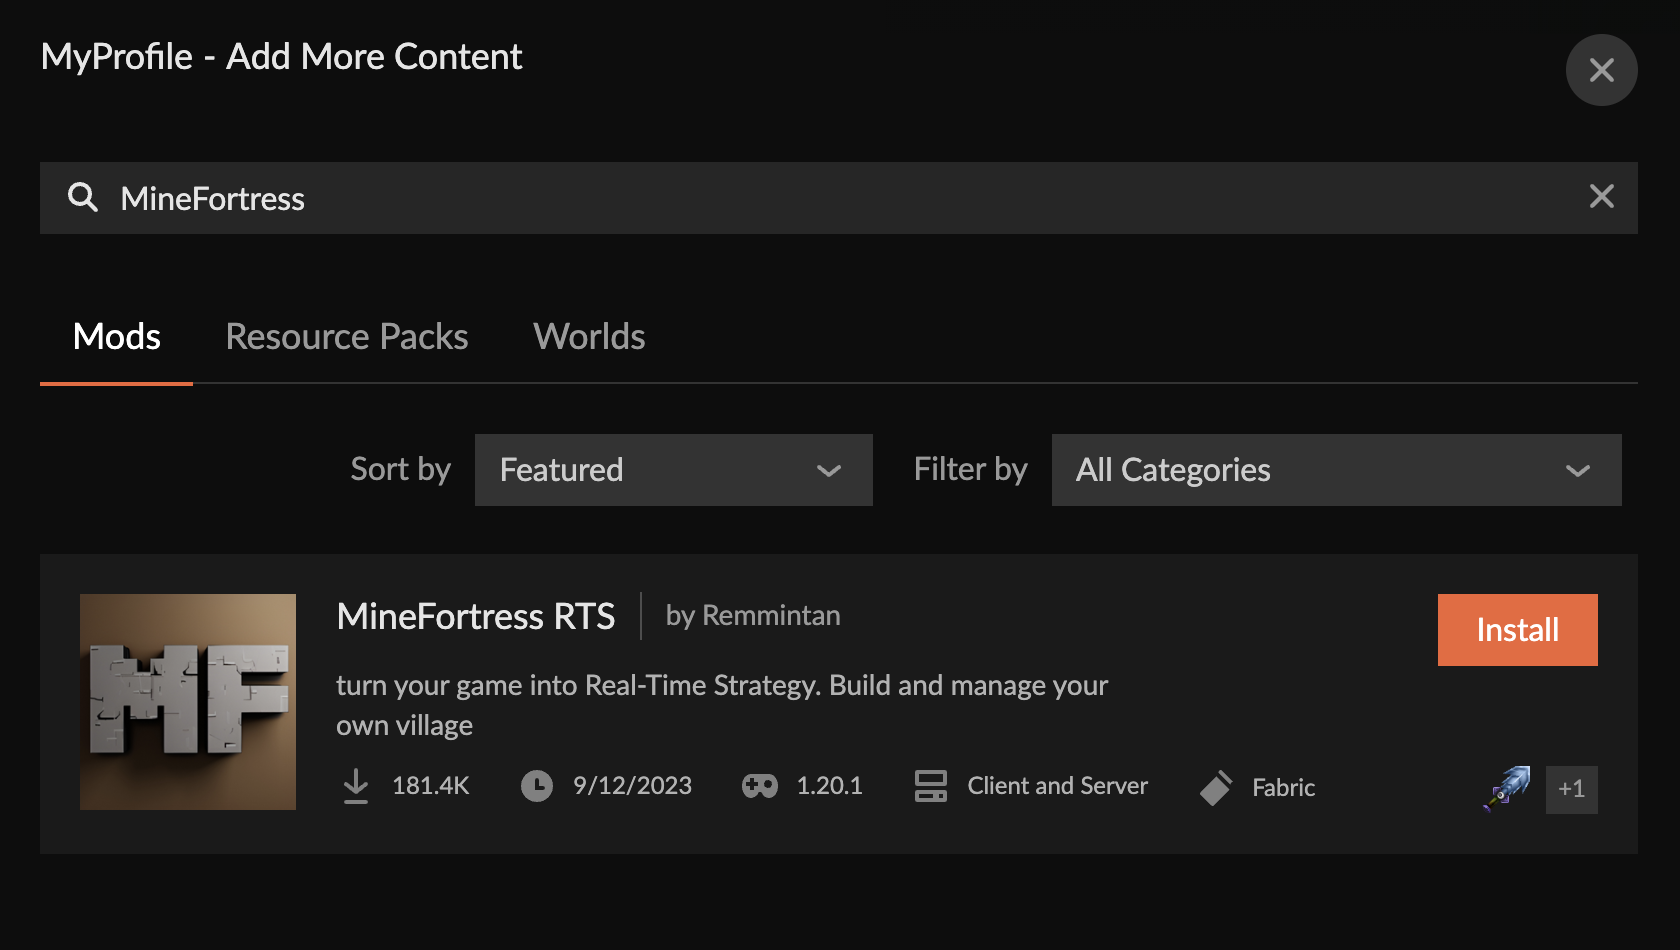
The search will appear. Search for "MineFortress" there. Make sure to search in the Mods section.
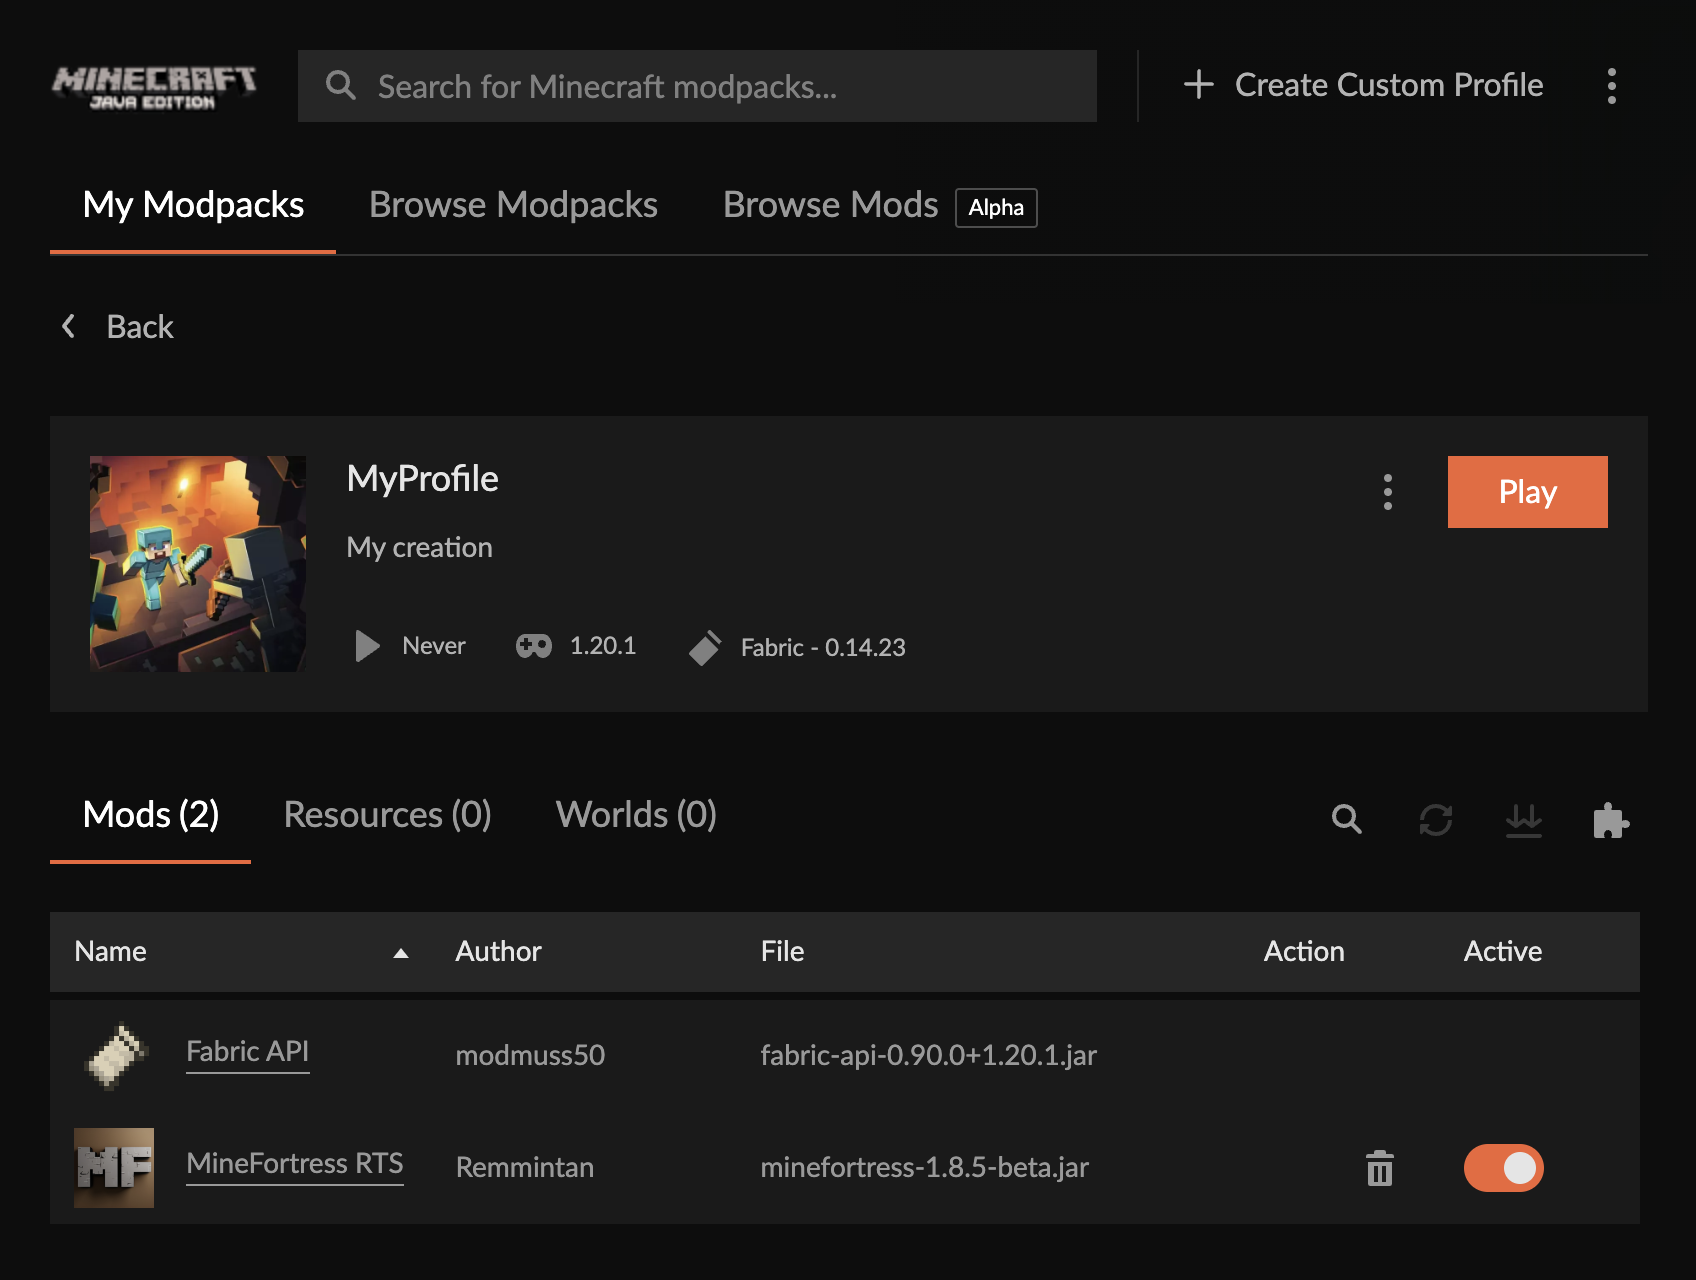
Click on the "Install" button to install the mod. After the mod is installed close the search window. Your profile should look like this.
Step 4: Run the game
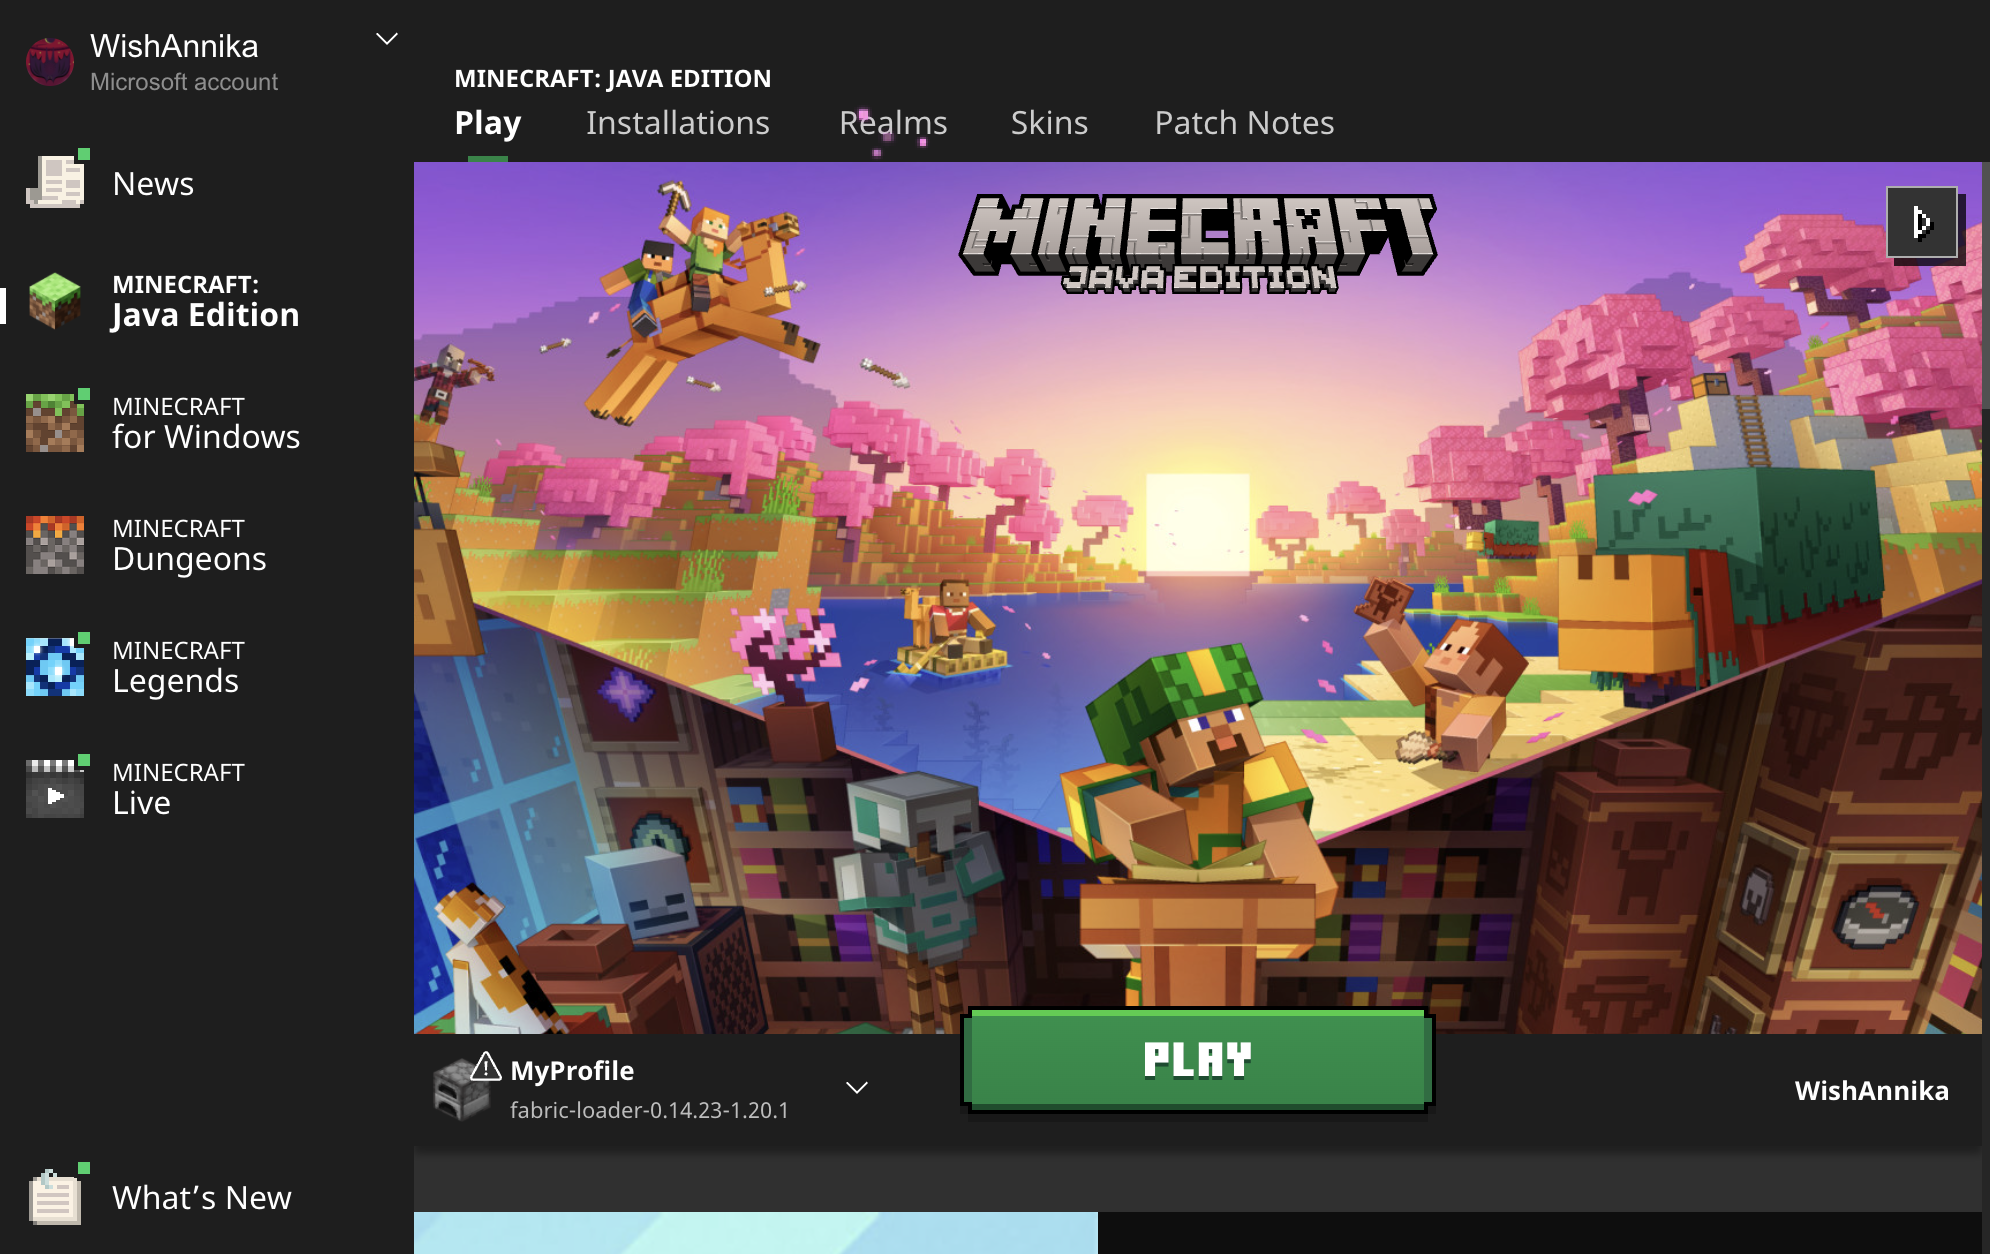
At this point, installation is done. Run the game by clicking the "Play" button in the profile. If you run Minecraft for the first time you may have to log in to the Minecraft launcher. After login, you will see the play button.
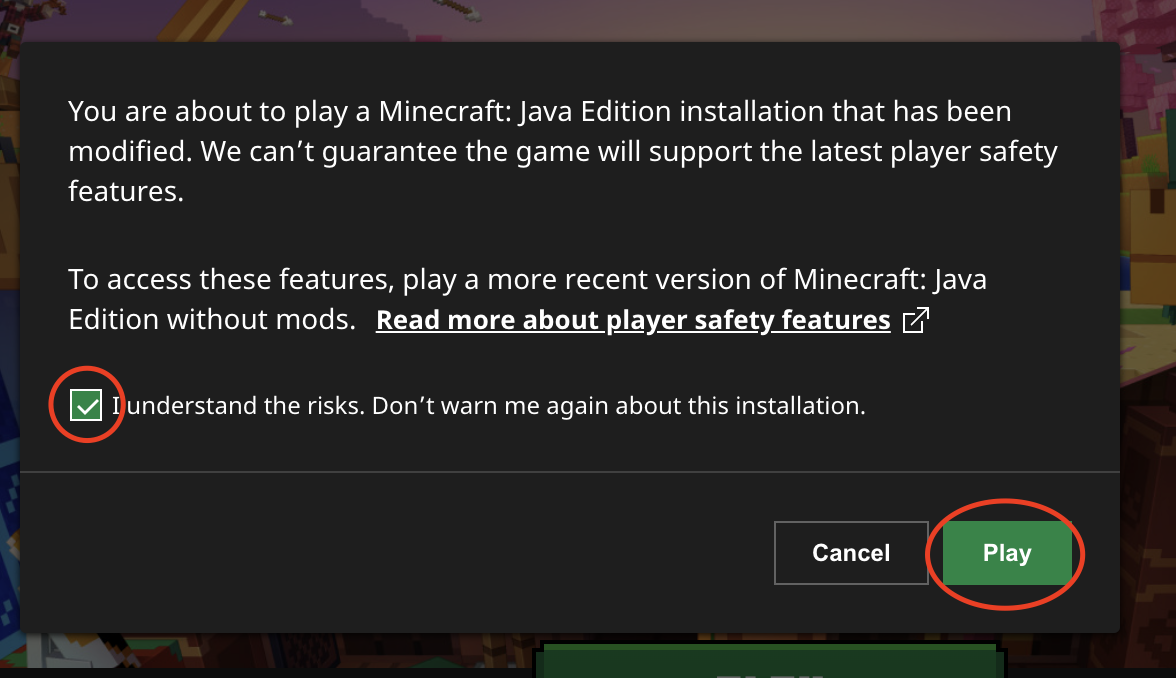
When running the game for the first time, the Minecraft launcher will ask you if you want to proceed. Check the checkbox and click "Play".
Step 5: Check the mod
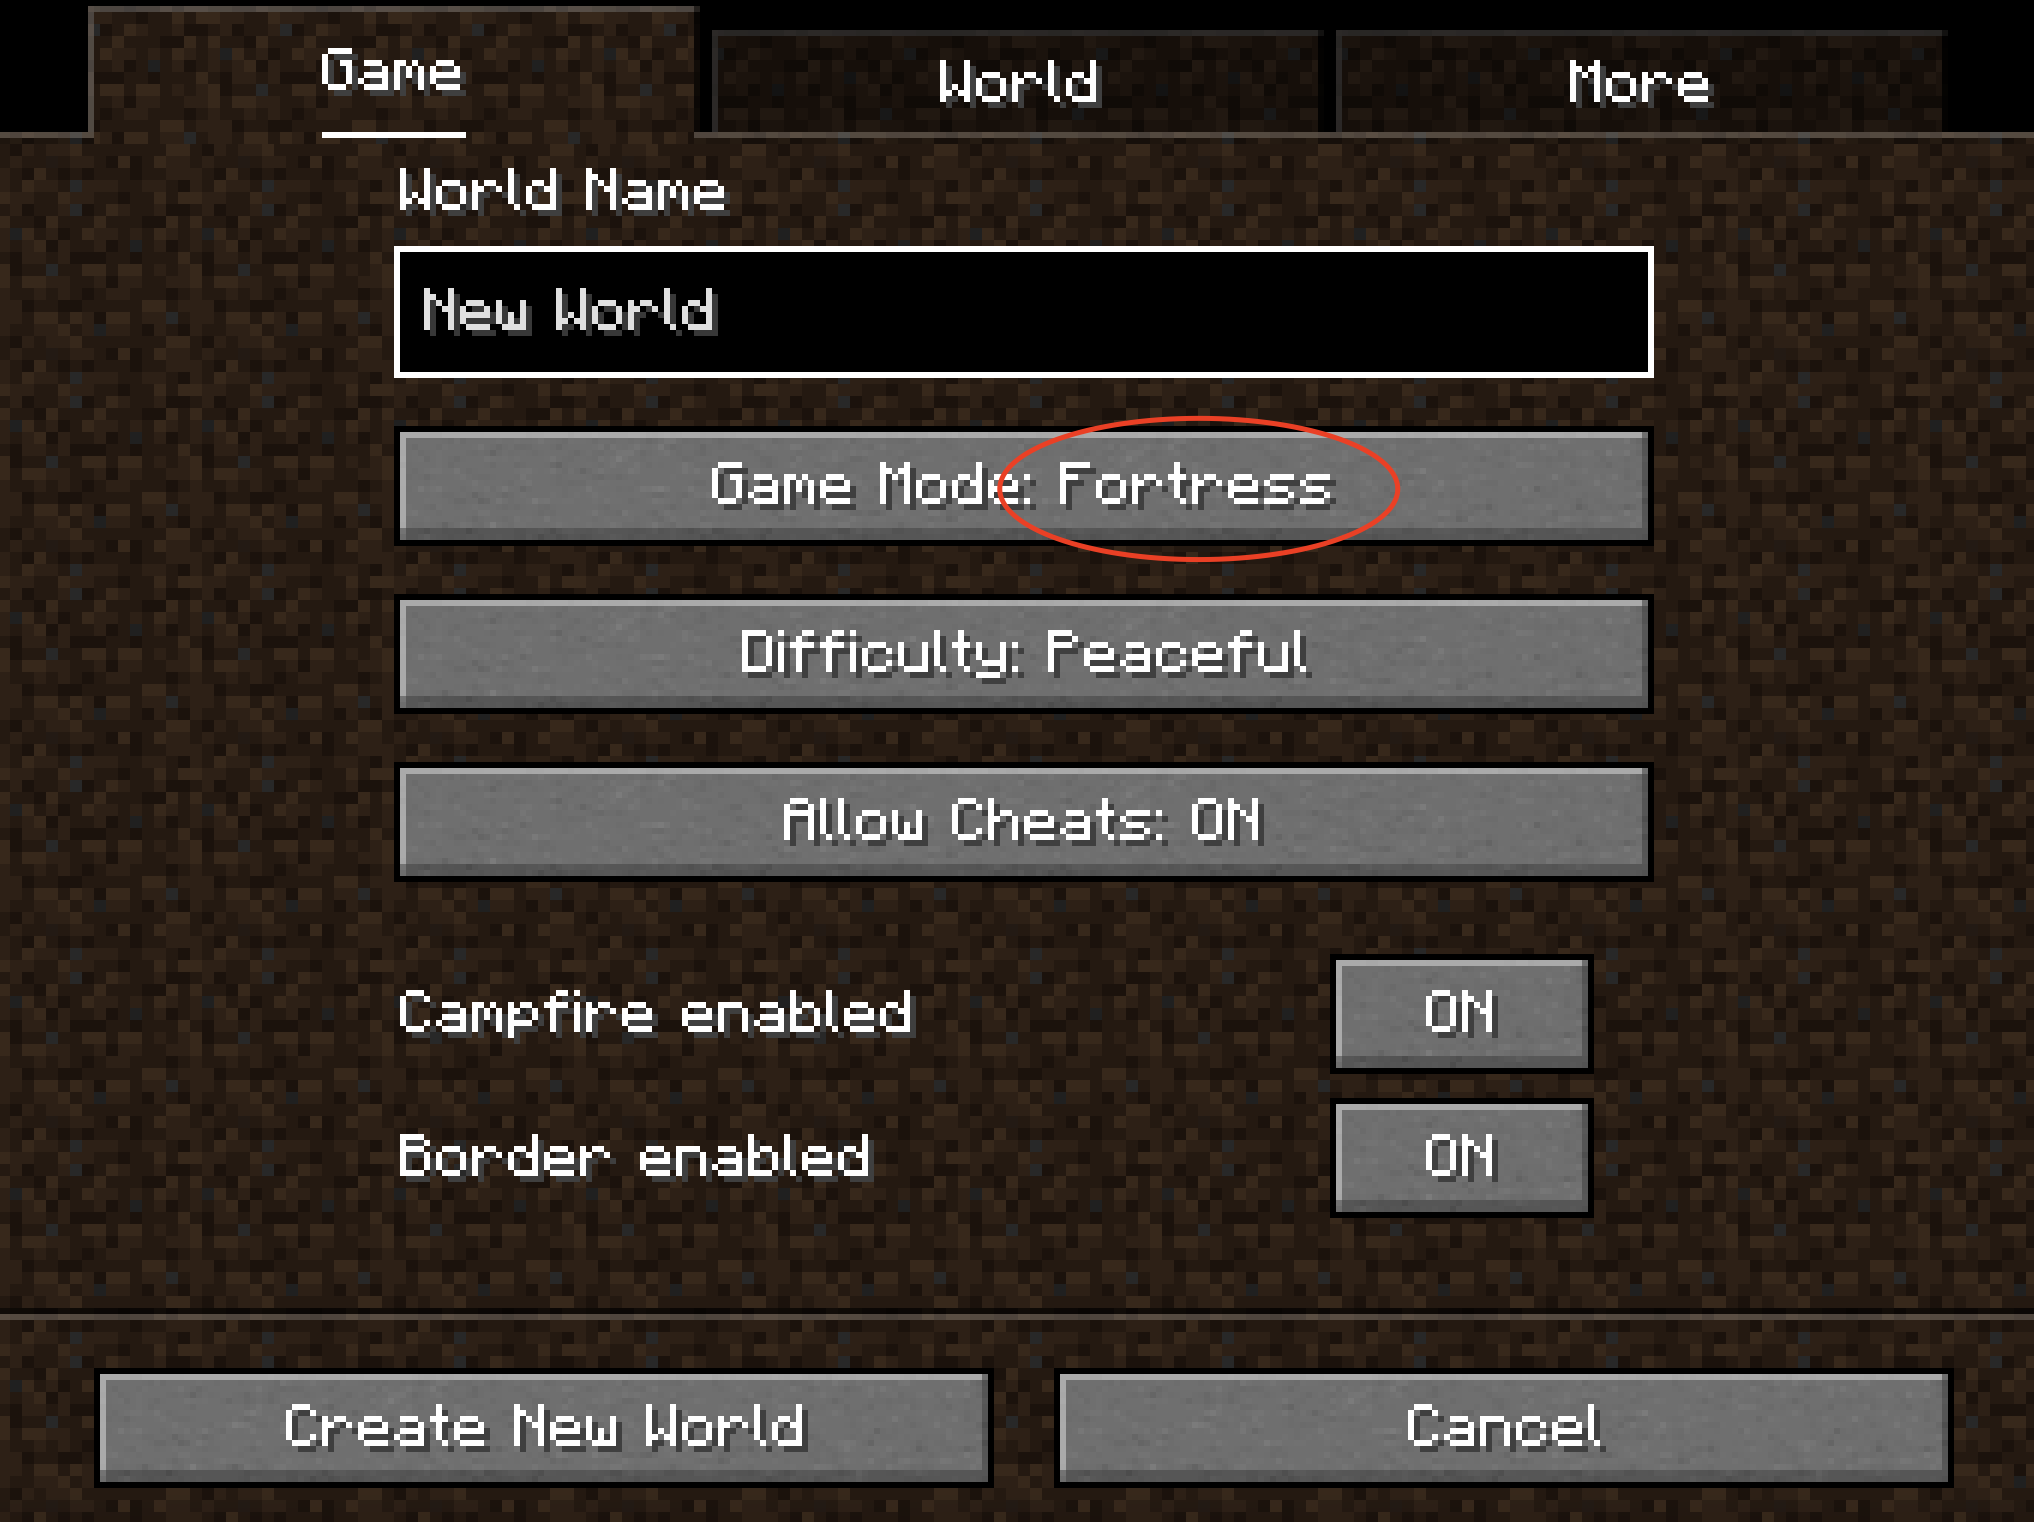
To make sure that the mod is installed go to Singleplayer > Create new world. The "Fortress" gamemode should be selected as default gamemode.
That's it! You are done! Hope you will enjoy the mod!
Next steps
If you want to install the mod using some other way make sure to take a look at Installation page containing all the topics.
Or do your first steps with the mod:
- Get familiar with Controls
- Follow Getting started guide
- Take a look into Gameplay systems
